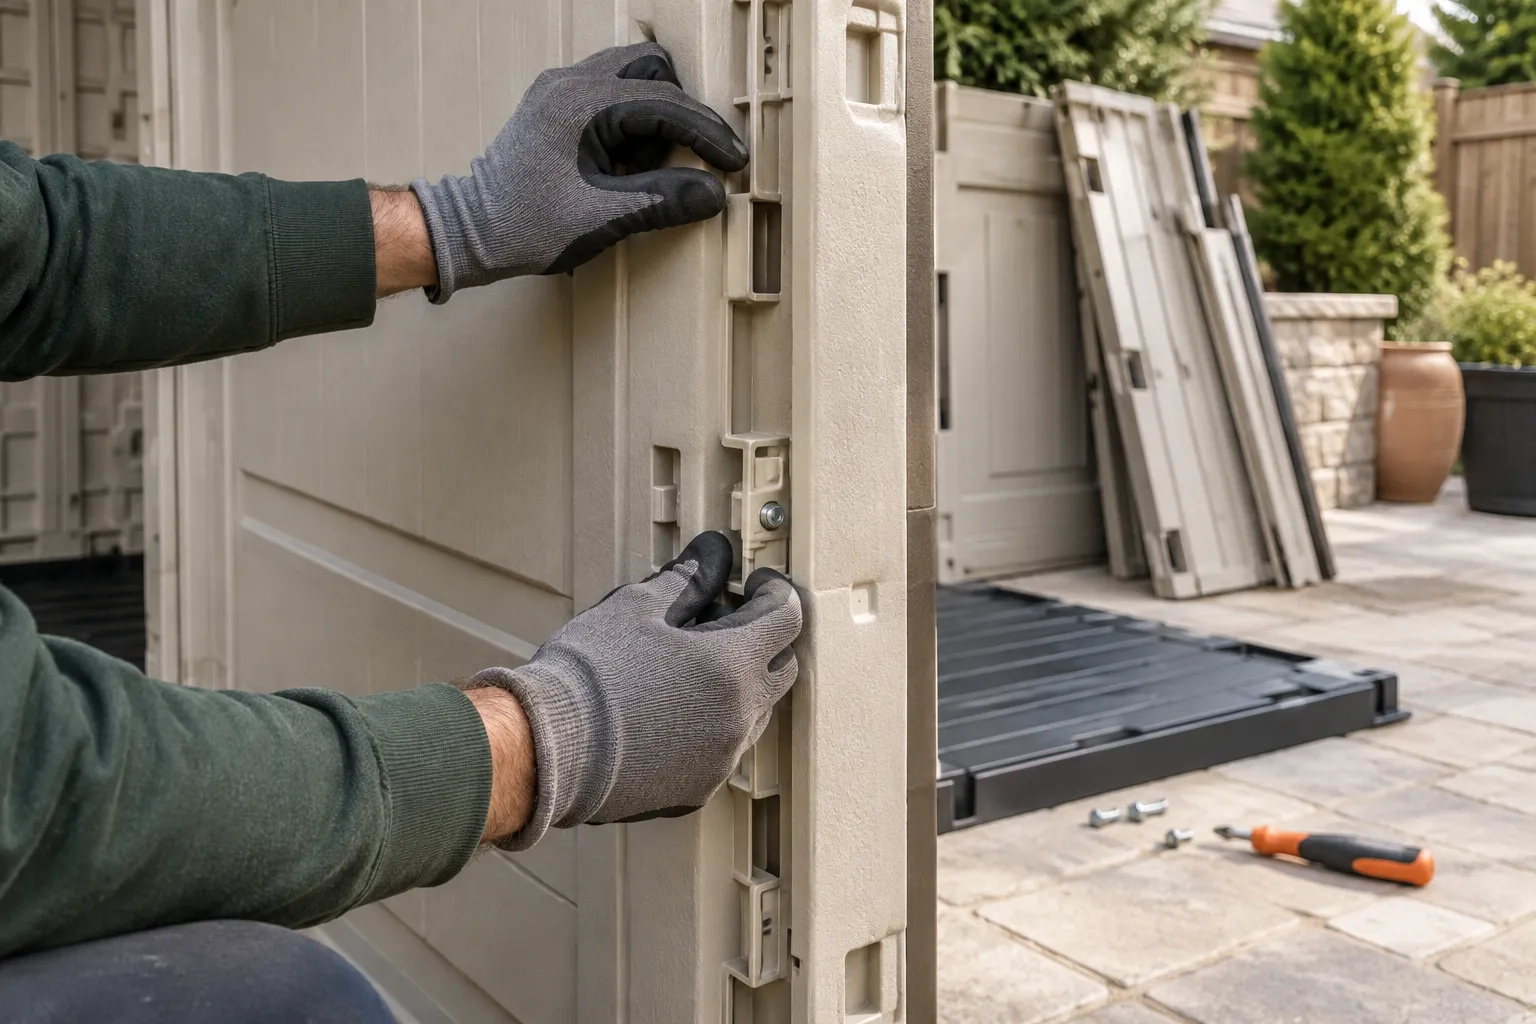
Plastic sheds are assembled systems. Roof caps, wall tabs, metal braces, floor channels, and hidden hardware determine whether panels separate cleanly or crack during handling.
Start with the model and panel layout
Photograph the doors, roof ridge, corners, floor, and inside wall seams. A visible model label can help explain how the sections connect.
Find metal reinforcement
Many resin sheds use metal channels or braces inside molded panels. Show those pieces and any anchors at the floor or base.
Flag brittle or damaged plastic
Sun exposure and impact damage can weaken tabs and corners. Point out cracks, chalky surfaces, warped doors, and pieces that have already broken.
Plan for full-size panels
Measure the gate and turns with large wall sections in mind. Keep a flat staging area clear so panels do not block the work path.
Use the checklist
- Doors and roof photographed
- Panel joints shown
- Metal braces identified
- Cracks and brittle areas noted
- Gate and staging area measured
What to send with an estimate request
Include one wide photo, close photos of connections and damage, rough dimensions, the narrowest access measurement, utility status, and a note about concrete or anchors. Keep hazardous materials out of ordinary debris.